How to Center Clay Without Losing Your Mind
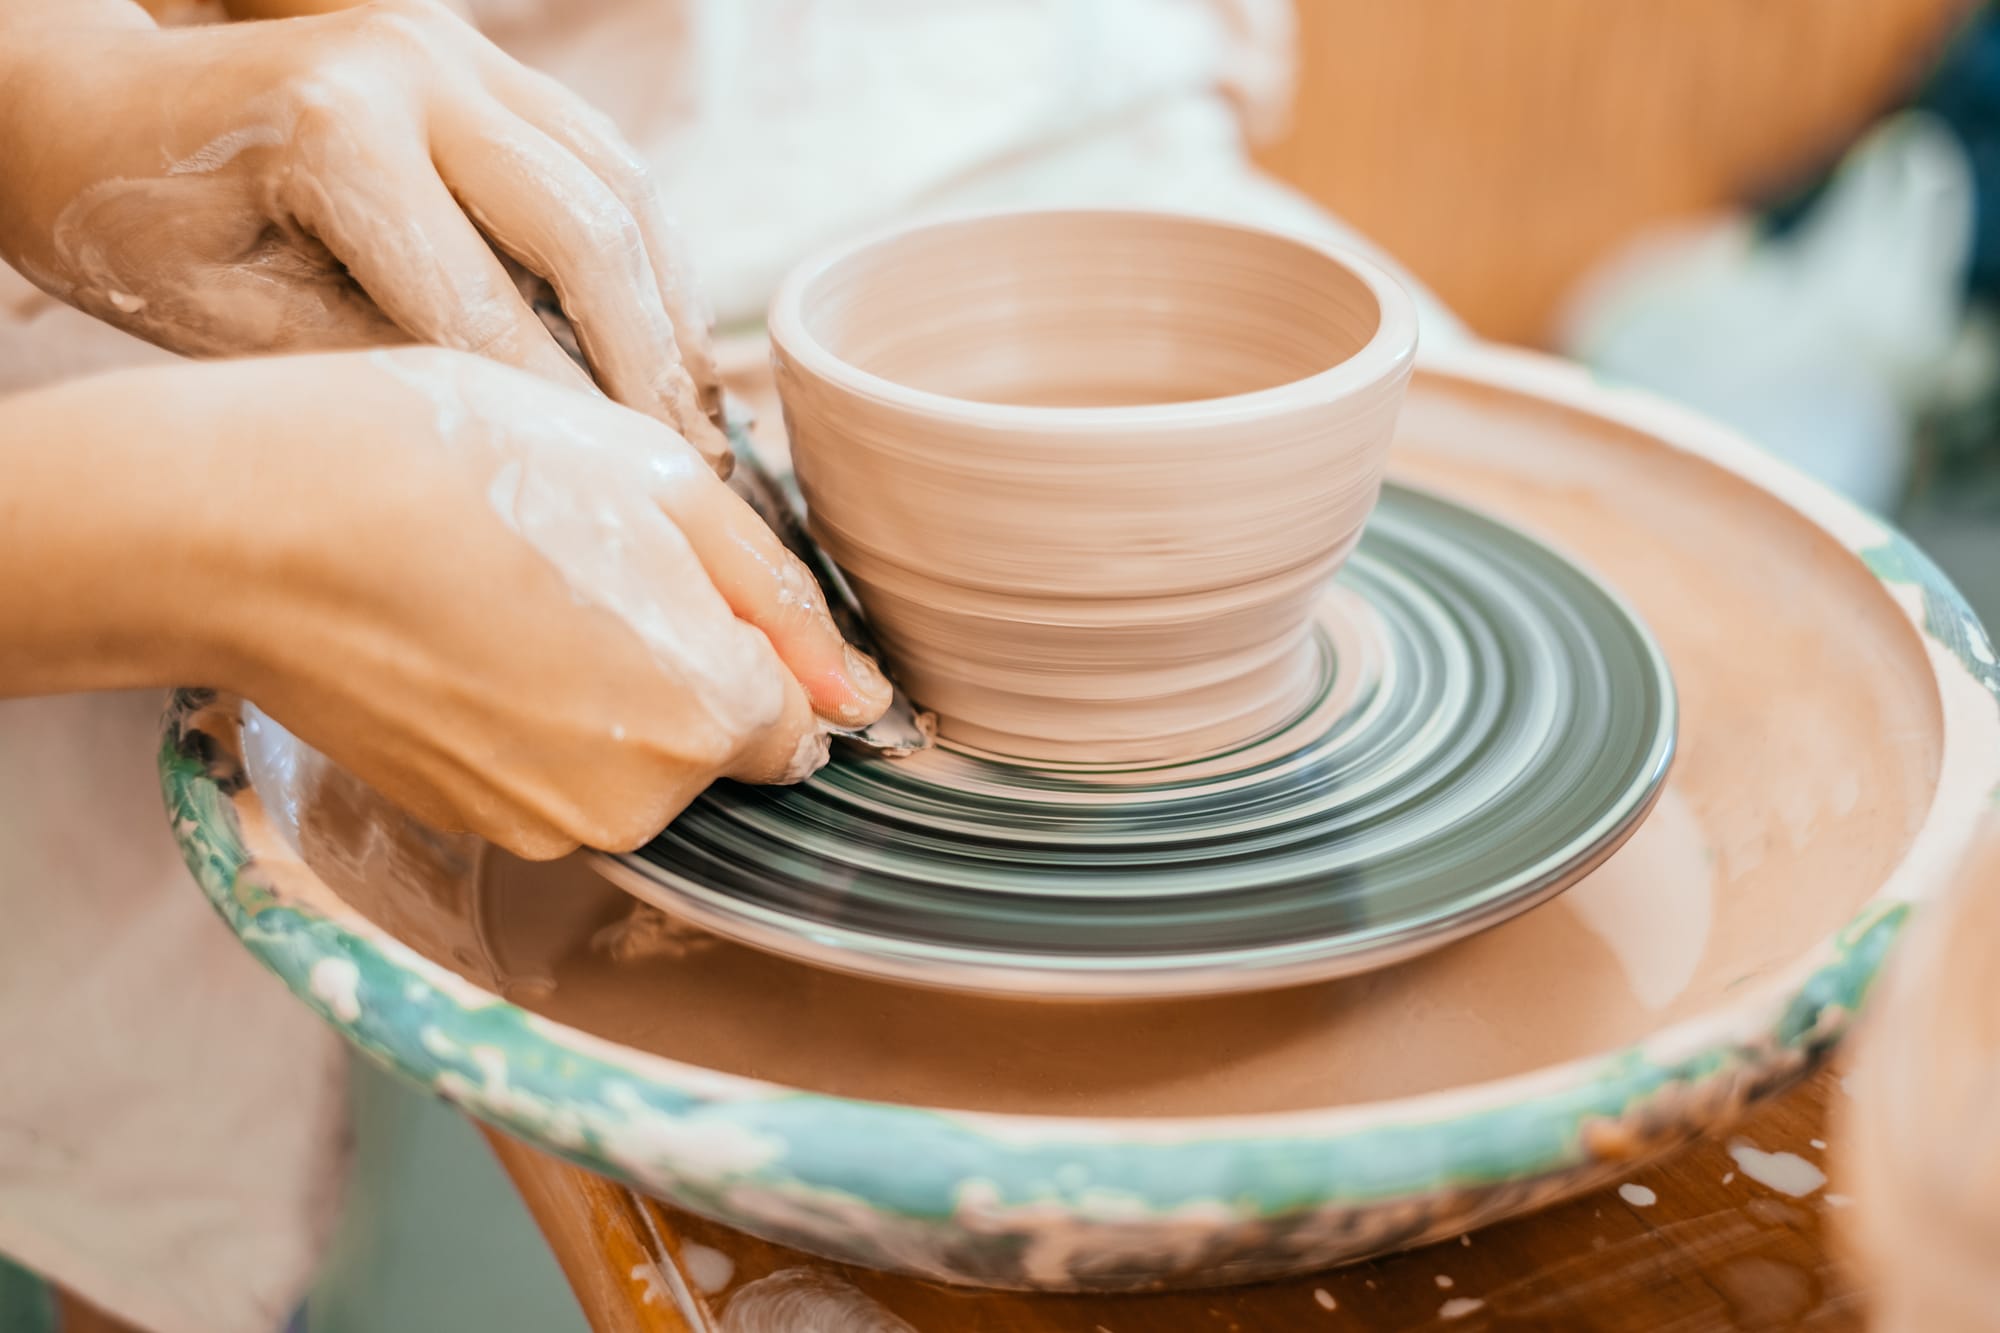
Let’s talk about the #1 frustration point for new potters: centering clay. If you’ve ever spent 30 minutes wrestling a lump of spinning mud while questioning every life decision, this one’s for you.
Step 1: Embrace the Struggle
First of all—centering is hard. No one just "gets it" on day one. If your clay is wobbling like a toddler on roller skates, you’re doing it right. That’s how it starts.
Step 2: Get in Position
- Sit up straight. Lean slightly forward.
- Brace your elbows on your thighs.
- Let your whole upper body—not just your hands—do the work.
Step 3: Cone It Up & Down
Do the “cone up, cone down” technique:
- Use both hands to push the clay upward into a cone shape.
- Then press it down with the side of your palms into a dome.
- Repeat 3–4 times. This aligns all the particles and preps the clay.
Step 4: Find the Force
To actually center:
- Cup your hands around the clay like a gentle hug.
- Push forward with your left hand, down with your right.
- Keep the wheel fast and your touch steady.
Step 5: When in Doubt, Add Water (But Just a Bit)
Clay too dry? Add a splash. Just don’t drown it. Think moist, not mudslide.
Final Words of Wisdom
- Centering is a dance, not a fight.
- You’ll know it’s centered when it stops fighting back.
- And when you finally get it… you’ll want to center everything. (Bananas, pillows, small pets…)
Keep spinning. You’ve got this.